
The most common way to enter contacts in isave.DIALOG is to import an excel document (CSV).
Ensure a successful import of the CSV-file
To ensure a successful import of contacts please ensure that the Excel document is properly formatted:
• One subscriber / contact per row.
• The document must have a header row.
• Use only letters a–z and numbers – no special characters or spaces.
• There should be no subscribers without e-mail if isave.EDM shall be used (except for use of isave.CAMPAIGN against isave.PRINT).
• Avoid using formatting of cells, macros, or other functionality.
• (In some cases, an Excel document contain hidden information that interrupts imports. One way to solve this is to copy and paste content into a Notepad document and then copy / paste it back into a new Excel document.)
Importing contacts into isave.DIALOG with CSV
1. Click the isave.CONTACTS module.
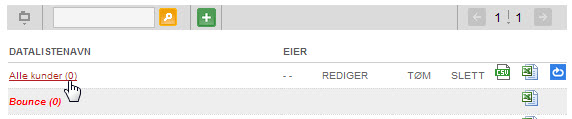
2. Click on the list you want to import contacts to.
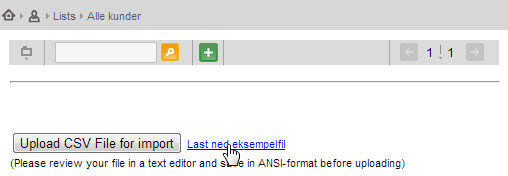
3. Start by downloading a sample file by pressing the “download sample”.
Note! The sample file will change if you enter new fields of demographic data, and should therefore have added these fields before importing contacts. Read how to add specifications.
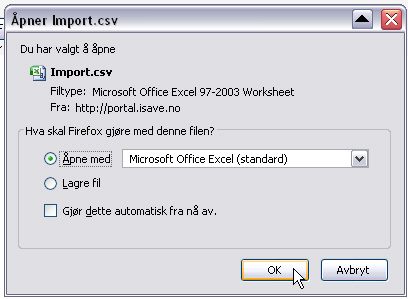
4. Open the file in Microsoft Excel or OpenOffice.
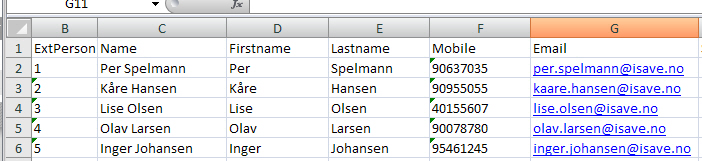
5. Fill out the demographic data needed for your contacts (the only required is e-mail, name, firstname og lastname).
The reason why they have separate fields for name and first name and surname is to be able to have freedom of choice to merge all or part of the name in the e-mail and print templates. This is to vary how personal you should be in the dialogue with the contact.
If you already have a contact list in Excel format, we still recommend to copy column names from such list into your existing Excel file (this is optional when you can also connect column name after the CSV file is uploaded, but doing this in the Excel file you know that the link is correct).
6. When you have a complete file with the correct column names, save this as normal XLS file for backup.
7. Export the file to a CSV file (Comma separated values).
8. Click ”save as” and ”other formats”.
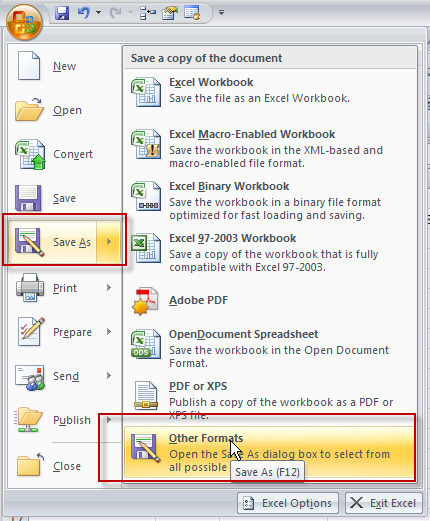
9. Choose file name and the format CSV (comma delimited).
10. Click ”save”.

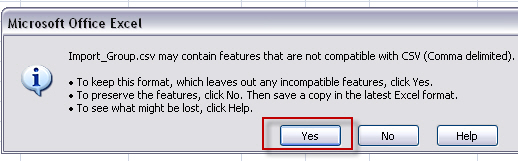
11. On the question of whether to change the format press “yes” if you have a backup of the file, press “no” if you do not have it, and save the file first as XLS (for backup).
12. In isave.DIALOG, click the button ”upload CSV file for import”.
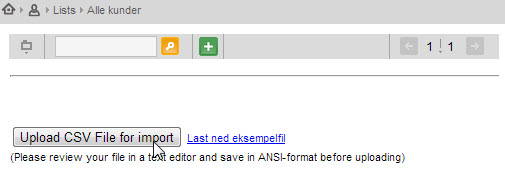
13. Click the button ”import” to upload.
Note! If you have used the same column names in the CSV file as in the sample file, all columns will automatically link. If they are different, this is where you relate these manually by selecting from the dropdown lists the values in isave.DIALOG corresponding values in the CSV file.
14. If you want to update existing contacts with new data, check the box named “Update records with match on:” and choose “E-mail” or “ExtContactNumber” as unique ID for the update of data.
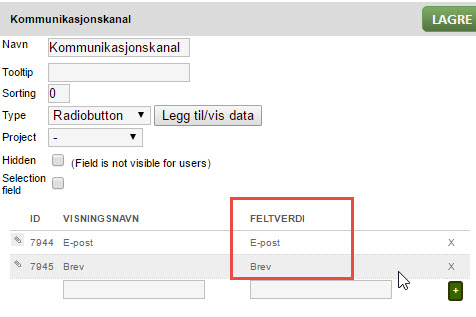
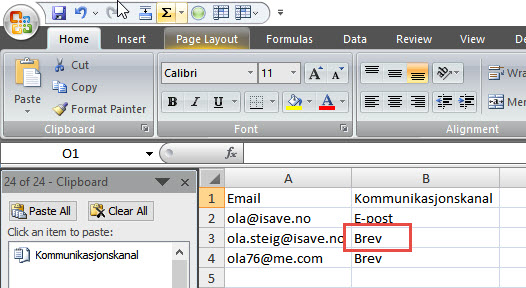
Note! If you import contacts with values in fields that are radio-buttons or drop-down, you must use the FIELD VALUE of the CSV file you are importing.
Example of specificationfield setup with two values: E-mail and letter.
Example of CSV file import:
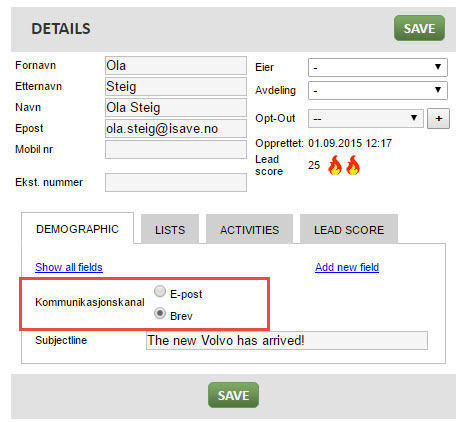
Example of how it will look in isave.DIALOG:
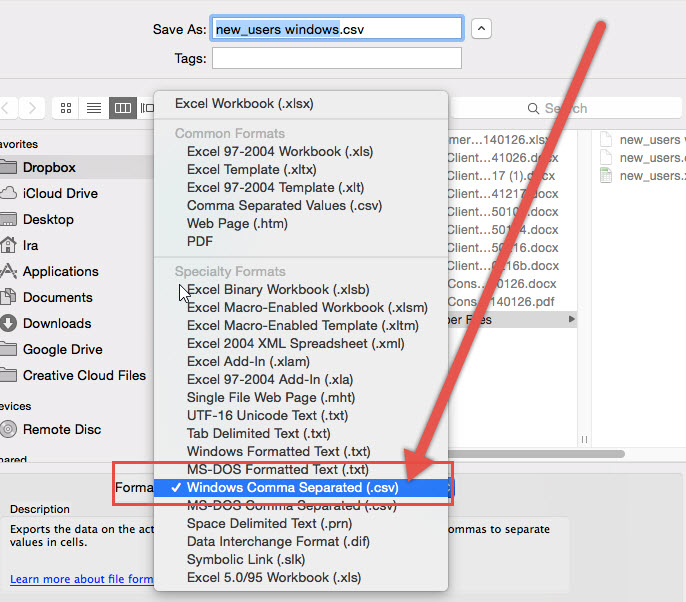
Tips to Apple users
Export CSV file as a “Windows Comma Separated (.csv)” for importing data.
Do you experience problems importing contacts from a CSV file, please contact us in Isave AS, so we can help!
Related links:
How to build contact lists
How to add specifications
Export contact lists


Leave A Comment?