
In non responsive templates you put exact width of the image in the HTML code. The e-mail clients read this and renders the image in just the right size.
In responsive templates this is a little different because the width of the image must adjusted for screen width. It is extremely important to remember the original image size, especially the width, because you set the image size in %. Clients are based on the image’s original width and adjusts the image in % thereafter.
There are two ways to ensure that the images are correct. If you have photoshop, this is the best way to create images in the correct size (1:1). You make it in the biggest size, for computer screens. If you don’t have photoshop, you can set up isave.DIALOG to generate a file for you with the crop function. This can unfortunately lead to poorer quality of the image.
Create images with the correct size in photoshop
1. Open your image in Photoshop.
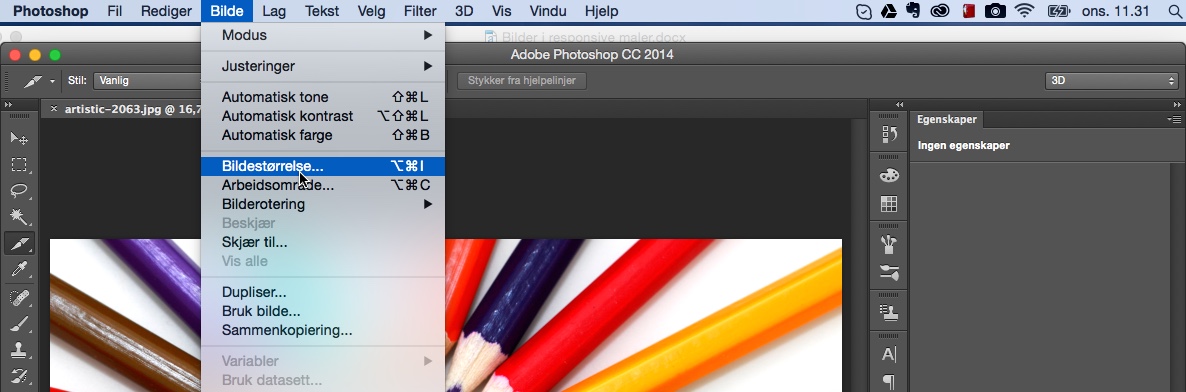
2. Click “image”. (Bilde)
3. Click ”image size”. (Bildestørrelse)
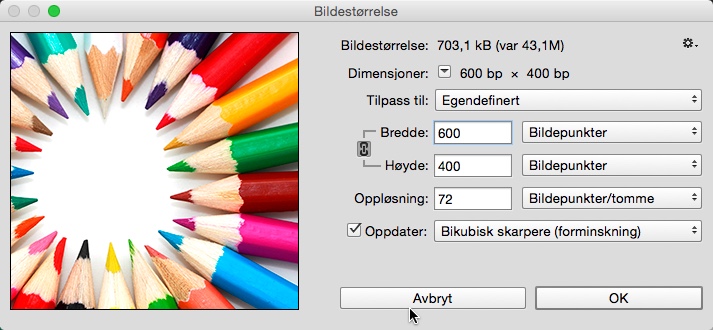
4. Insert the correct width of the image. The size depends on the newsletter size and must be clarified in advance with those who have created the template.
5. Save the image.
Note! It is a good rule to always save the image with the size of the image in the name. Example: Tegnestifter_600px.jpg
Upload images with the right size in isave.DIALOG
1. Upload your image in isave.FILES.
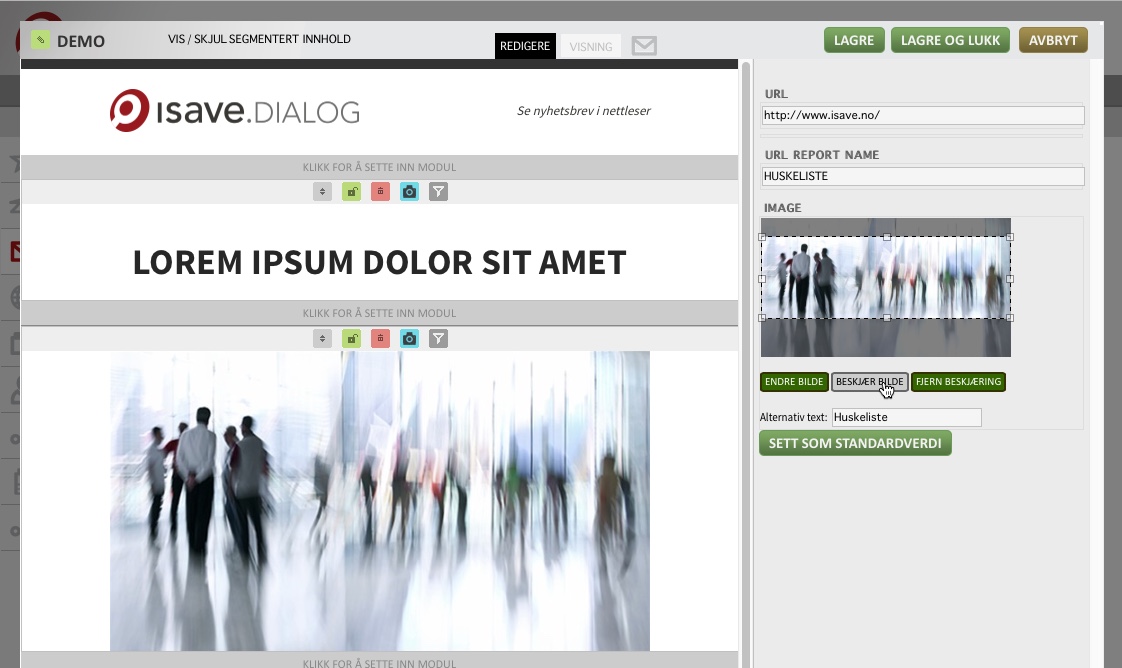
2. Insert a image module in your newsletter or PURL as usual.
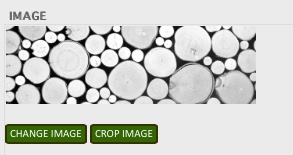
3. Click “Change image”
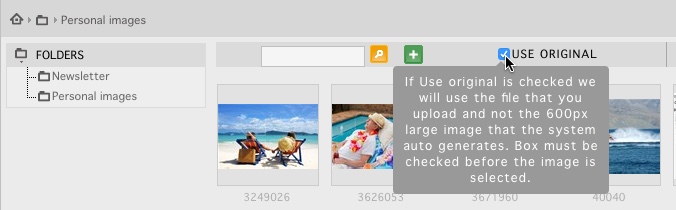
4. Check “use original” before selecting the image by clicking on it. This causes the system to use the original file and not an auto-generated image of 600 px.
Note! With this method, you are absolutely sure that your images will display correctly in your newsletter and not become too large or small so that they destroy the design.
Use cropping in isave.DIALOG to set the image size
To ensure that all images are the right size, it is possible to set a fixed width “and height” on the image / images during setup of the module.
Note! There is unfortunately no way to control the image size directly in isave.DIALOG. This can only be done on the module.
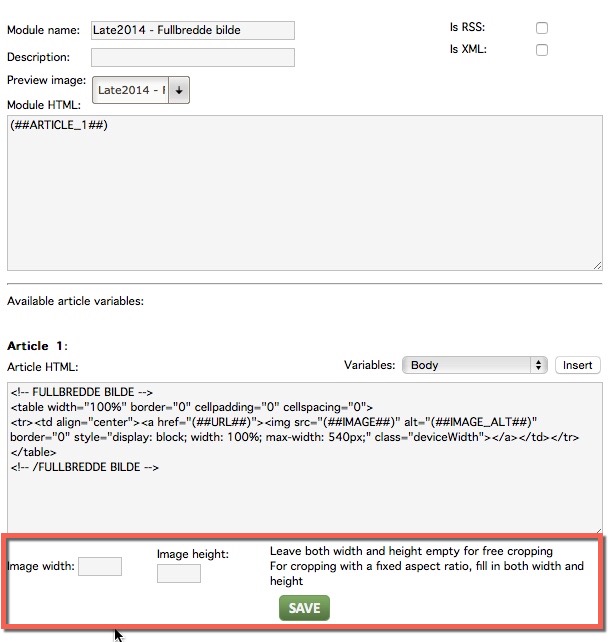
If width is set in the module under “Image width“, images that are inserted may be cut off automatically, regardless of whether the image is already in the right size or not. Unfortunately this will cause that the image may become somewhat inferior quality. If it is known that the image is the correct size, you can press on the “remove cropping” to remove auto-crop.
Note! For the best quality, it is important that the image is as good quality as possible before you upload it to isave.DIALOG. Preferably in such proper size as possible. A small image that is cropped to 600 px, will be scaled up and very poor quality. It is a good rule that the images should be greater than what they are cropped to, to give the best quality.
Note! For best quality images the solution is always to add them 1: 1. That means, the correct size relative to the template. This is to avoid cropping.
Do you experience problems with image sizes, please contact us in Isave AS, so we can help!
Related links:
Send a eDM
Reports in eDM
Upload images to isave.FILES
Filtering modules


Leave A Comment?