
Under system – address in isave.DIALOG you can add addresses for invoice and delivery in the shoppingbasket.
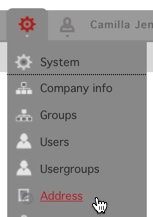
Note! Only administrators of isave.DIALOG have access so address.
The addresses are used in the shoppingbasket. They are connected to existing groups and will only appear to people who are attached to this group. It is therefore advisable that the groups to be used in the company are created before adding addresses.
Many people wonder why the address information in the shoppingbasket is detached from the address information at group level (system – groups). This is to maintain the needs of larger corporate structures, with multiple locations within each department structure.
There are two methods to add new addresses: one and one manually or by uploading a CSV-file.
Add addresses manually
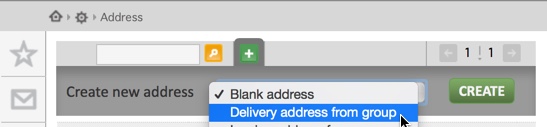
1. Click the green plus icon.
2. Select “blank address” for empty fields, select the “delivery address from group” to retrieve delivery information from an existing group, or “invoice address from group” to retrieve invoice address from an existing group.
3. click ”create”.
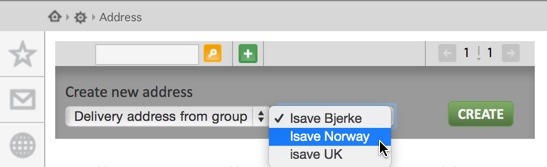
4. Select group. Read how to create a group.
5. click ”create”.
6. Enter the necessary address information if it dosen’t appear automatically.
7. Click ”save”.
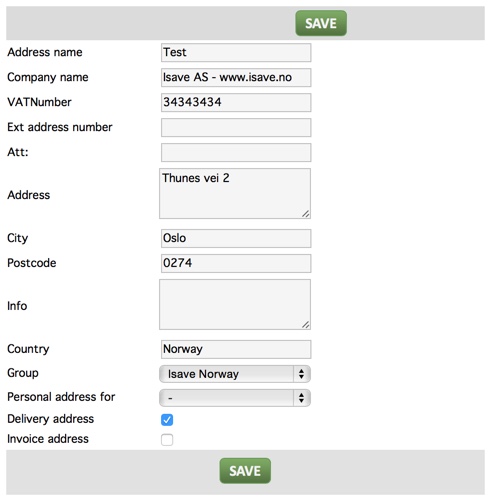
Here is an explanation of the different fields:
Address name: Address Name (appears in the dropdown list of users).
Company name: Company name (appears on the invoice / delivery note).
ExtAddressNumber: Unique ID for this address (if you are updating via CSV at a later date).
Address: Address (Post and / or street address based on check box Delivery address / invoice address).
Avdeling: Group (must match the numbers / names that exist in this field under the group it should be linked to).
Leveringsadresse: Check if this is a delivery address.
Fakturaadresse: Check if this is a invoice address.
Add addresses with CSV-file
1. Go to system og address.
2. Click “download sample file” to download a template. It is important that all custom fields are made before downloading this, otherwise they will not follow the template.

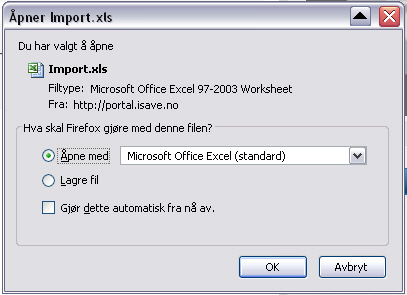
3. Open the file in Excel.
4. Enter data in the document and save as CSV (ANSI format).
5. Select ”save as” – other formats.
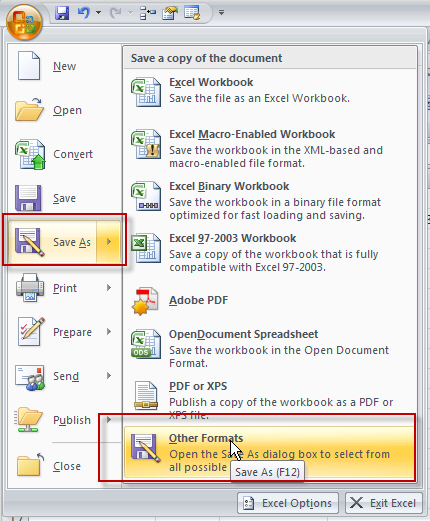
6. Choose a filename and select CSV (Comma delimited) (*. Csv) and press “save”.

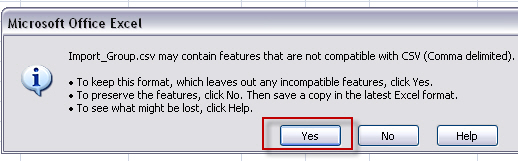
7. If you have a backup of your excel file, select yes to change the format. Save always in excel format first.
8. Upload a CSV file in isave.DIALOG by clicking on “upload CSV file for import.”

9. If you have not edited the header names of the fields, they will automatically connect to the appropriate field in isave.DIALOG.

10. If this is an update, click the “update records with match on” and select what is to be matched. This avoids duplicates.
Do you need help with adding addresses, contact us Isave AS, so we can help!
Related links:
Add a group
Add users
Add usergroups


Leave A Comment?